The Orcanos Work Items Import Builder facilitates the efficient uploading and organization of work item lists.
If you have previously imported data from an external source, our import-updater capability allows you to seamlessly add new items to your work items list while simultaneously updating the information of specific work items.
This article provides a guide on importing work items into the Orcanos system.
Note: You can import one type of work item each time
HOW TO IMPORT
A work item import has a couple of steps. First, you’ll prepare your spreadsheet file of work items outside of Orcanos, and save it as a CSV file. Next, you’ll use Orcanos Work Item Import Builder to add your items to Orcanos.
PREPARING THE SPREADSHEET
- Utilize a spreadsheet tool such as Microsoft Excel or Google Sheets, and save the file as a CSV (comma-separated values) with a header line.
- Each record should have the following fields:
- Unique identifier: Give each row its own special identifier, like an ID. If you don’t have one, create it. Make it special and different from others, so instead of using simple numbers like 1, 2, 3, try using more unique ones like 1000001, 1000002, and so on. You can use a Google sheet formula to create these values, such as this: =LEFT(CONCATENATE(TEXT(RANDBETWEEN(0, 99999999),“00000000”), CHAR(RANDBETWEEN(65, 90))), 8)
- Name is also mandatory (doesn’t have to be unique)
- Make sure that all fields that you wish to import exist in Orcanos
- Note that the type of fields is the same (numeric, text, date)
- Ensure that the values of fields in the CSV file match those in the corresponding field in Orcanos if it’s a Combo box or multi line type field.
Reminder: If your source is a complicated Excel sheets like Risk tables, be sure to take out any pivots or merged fields. Keep it simple – your sheet should just have rows and columns, with the first row as the header. Also, get rid of any empty rows.
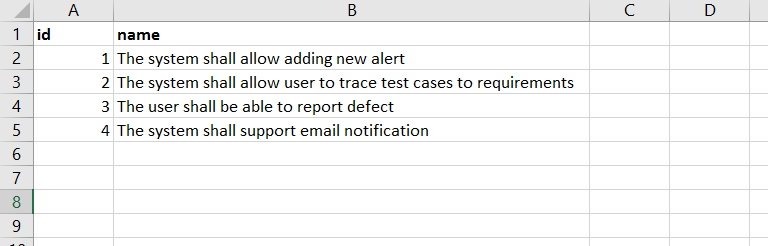
This is an example of a simple file with ID and name
Now that you’ve completed these steps, you’re ready to import the CSV file to Orcanos
PREPARING RISK FOR IMPORT
- It is advised to first setup the FMEA settings in Admin for the project to which you import your risks.
- There is no need to import RPN, as the system calculates it automatically
- For values such as severity, probability, detection, probability of hazard, and probability of harm, use either the numeric value (1,2,3,4,5) or the description (High, medium, low…)