ABOUT ZAPIER
Zapier ( https://zapier.com ) is a platform that enables integration between Orcanos and more than 1000 other software applications.
Zapier has two main methods. Triggers and Actions.
Trigger – An event in an application that triggers action in the second application. For example – new bug in Jira (Jira Trigger) will add new defect in Orcanos (Orcanos Action)
ORCANOS ACTIONS AND TRIGGERS IN ZAPIER
Orcanos supports the followings:
- New work item trigger
- New Defect trigger
- Update Work Item Action
- Update Work Item Action
BEFORE YOU START
Orcanos is not yet published in Zapier, so in order to use it, use the following link https://zapier.com/developer/invite/79247/387697d7c307a2ff00819e55ec6d87bb/
This is the invite-only application and will not be available without the invite link.
MAKING YOUR FIRST ZAP WITH ORCANOS
GOOGLE SHEET TO ORCANOS
Let’s create Zap using the Orcanos ALM Zapier application which will take data from one Application (Google sheet in our case) and create a record in the Orcanos Application.
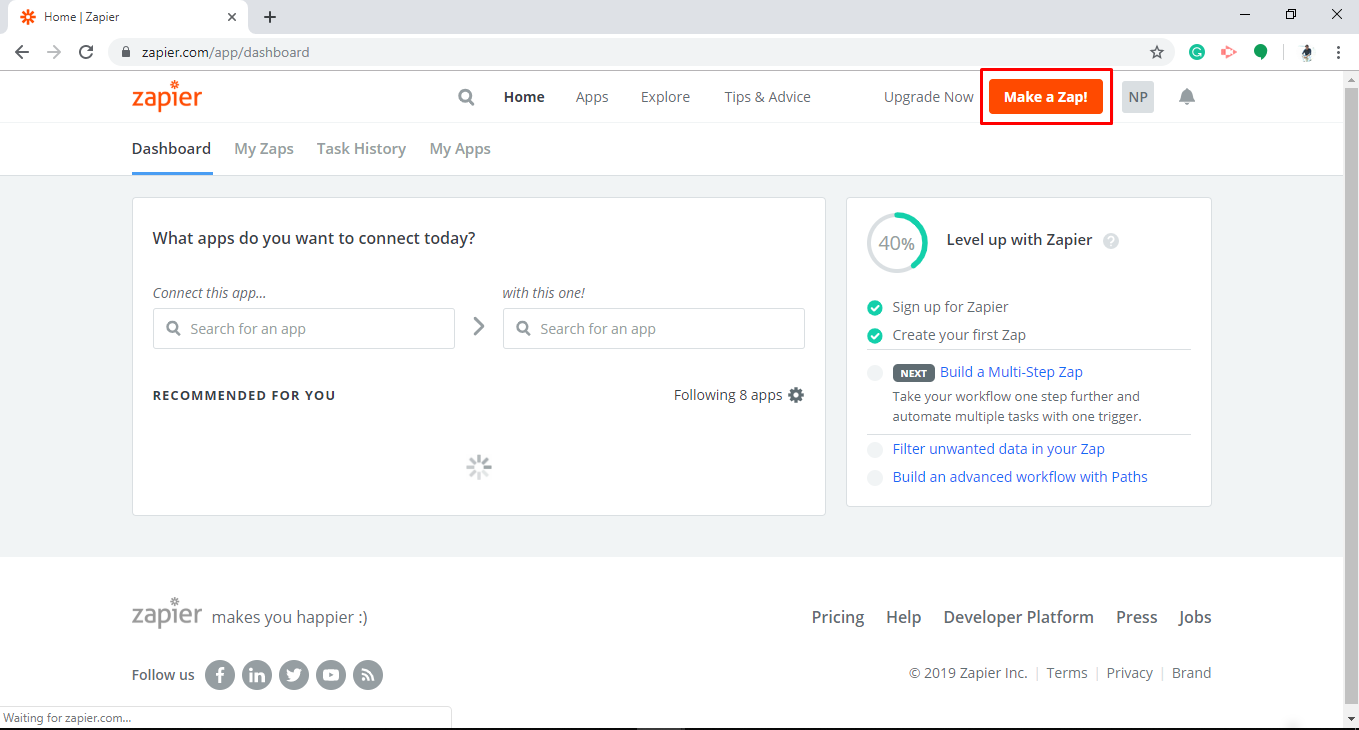
Login in the Zapier Account.
Click “Make a Zap” button at the Top of the Page.
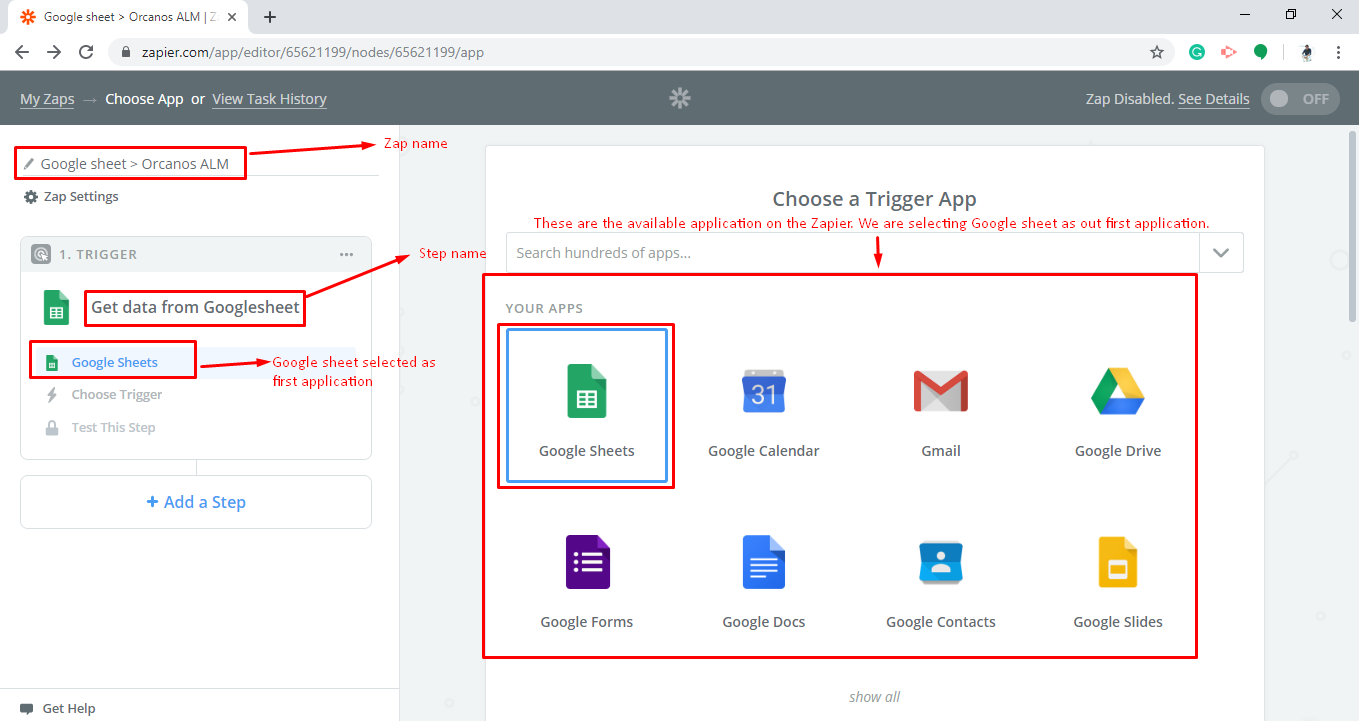
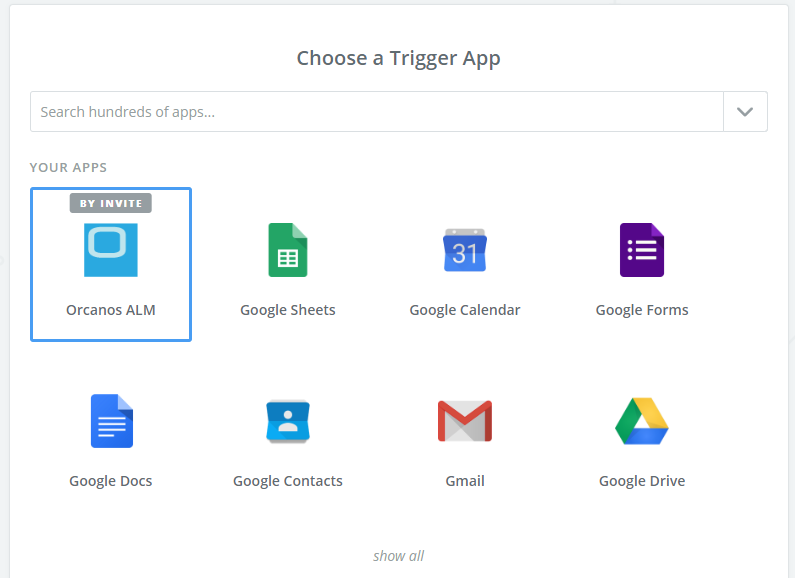
Give Zap Name and Action Step Name and select the “Google Sheets” Application from the available Application list.
We are going to use the Google Sheet as our first application (trigger).
Zap Name: Google Sheet > Orcanos ALM
Action Step Name: Get data from Google Sheet
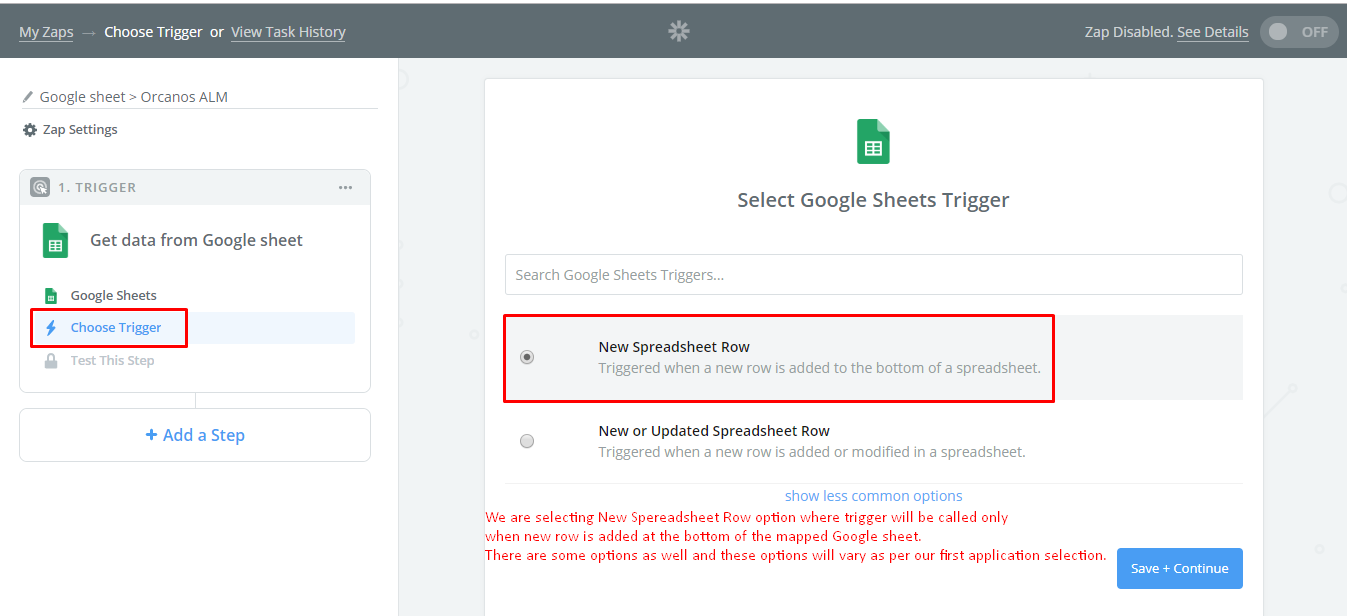
Then select “Choose Trigger” and Select “New Spreadsheet Row” and click Save + Continue
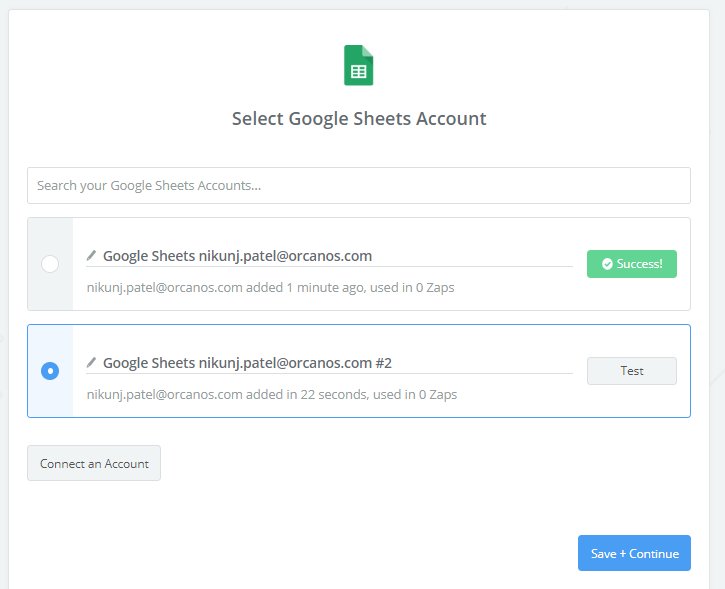
If the Account is not connected then you will need to connect the account. Click “Connect an Account” button.
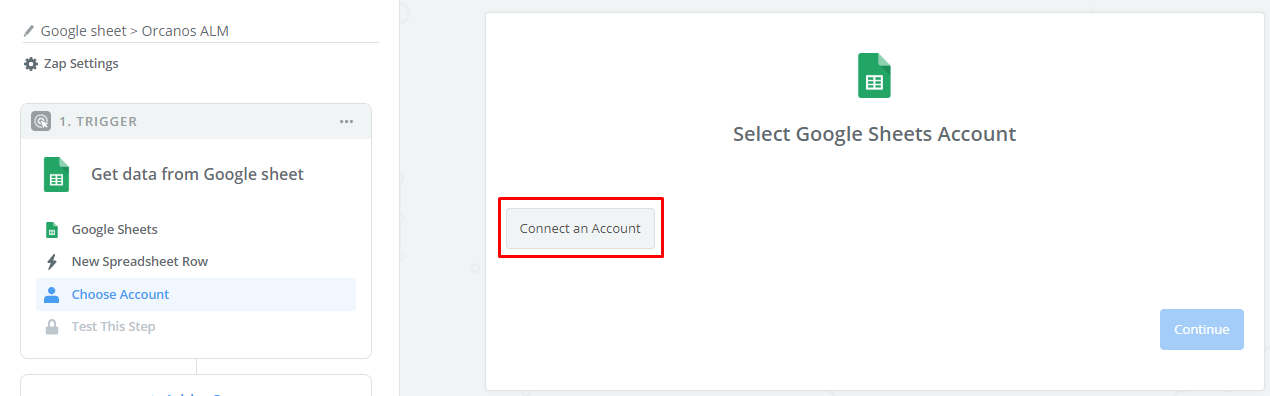
It will open a popup where you need to complete the Google account sign-in process.
It will return with the account information. In case you are connected with multiple accounts then you need to select the account from the list. There is an option to test the account connection as well.
Click “Save + Continue” .
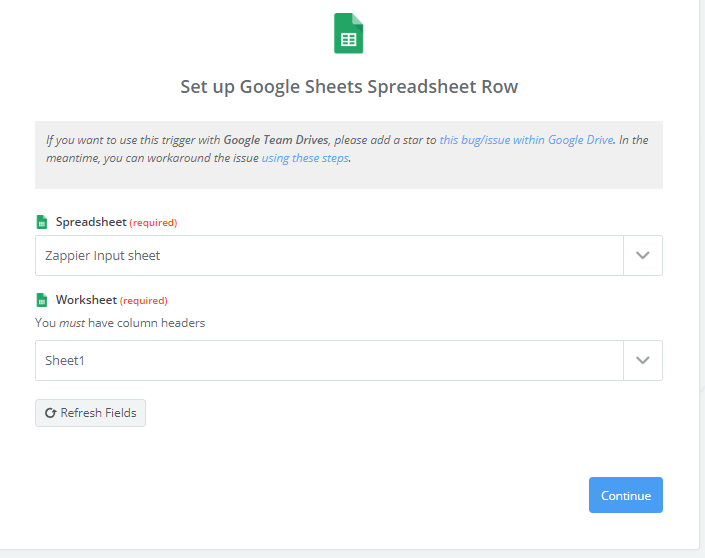
On the next screen, you need to select Google Sheet and Worksheet
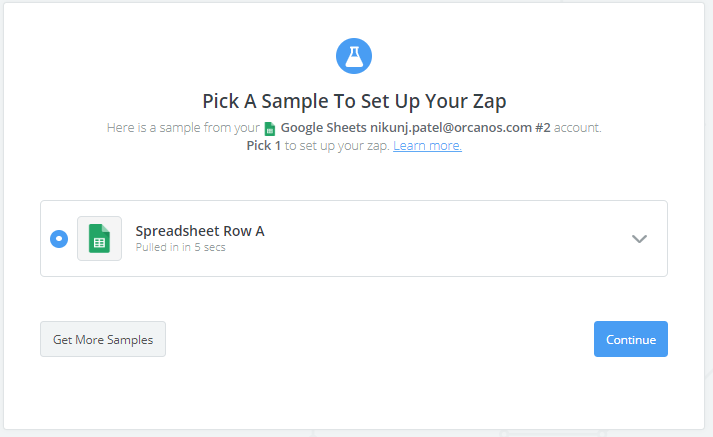
On the next screen, Zapier will fetch sample data from the selected application (in our case Google Sheet).
You may get the intermediate screen where Zapier trying to get the sample data and waiting from your selected application.
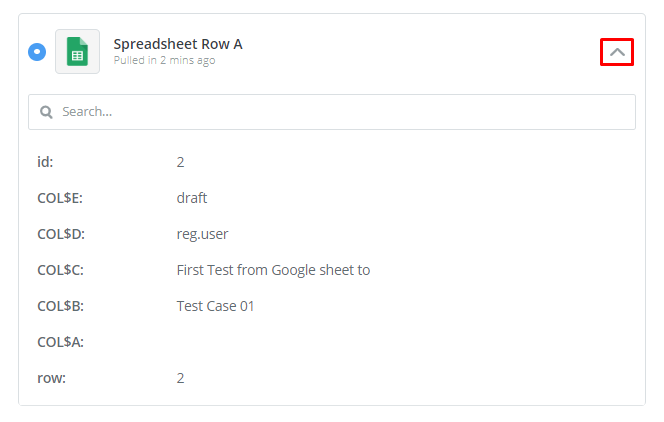
This is the example of the Google sheet.
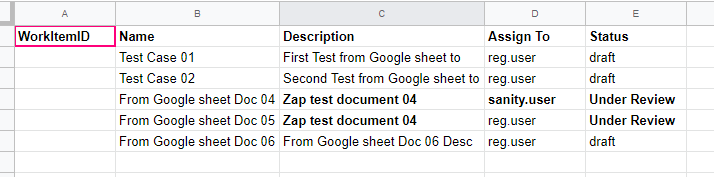
You can verify the data from the fetched record
On click “Continue” your first step (Trigger) will be completed.
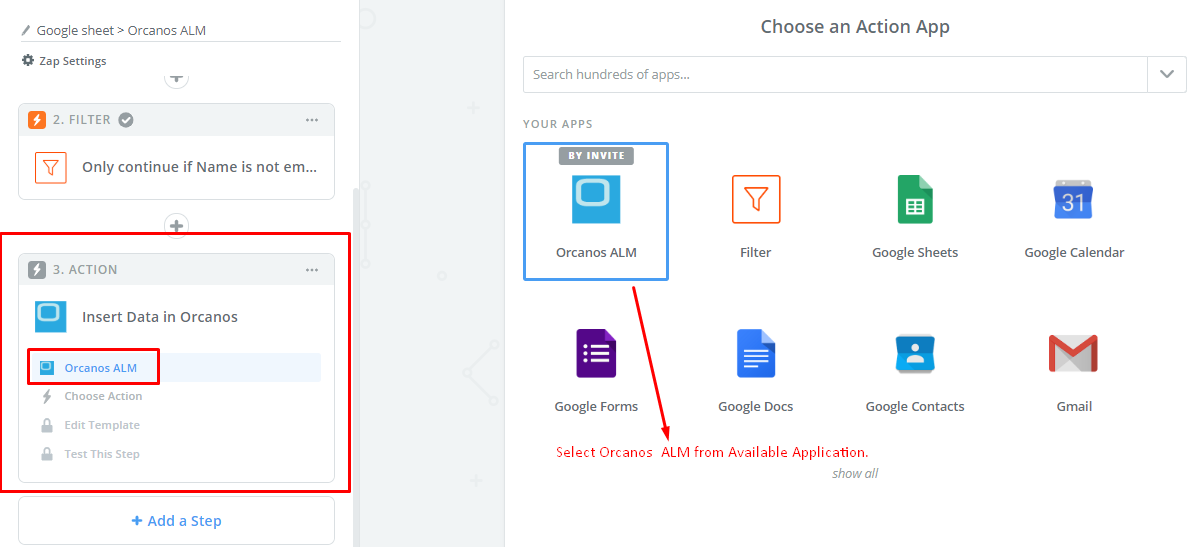
On the Action step, you need to select Orcanos ALM from Applications list (need to have an Invite link to work with the Orcanos ALM)
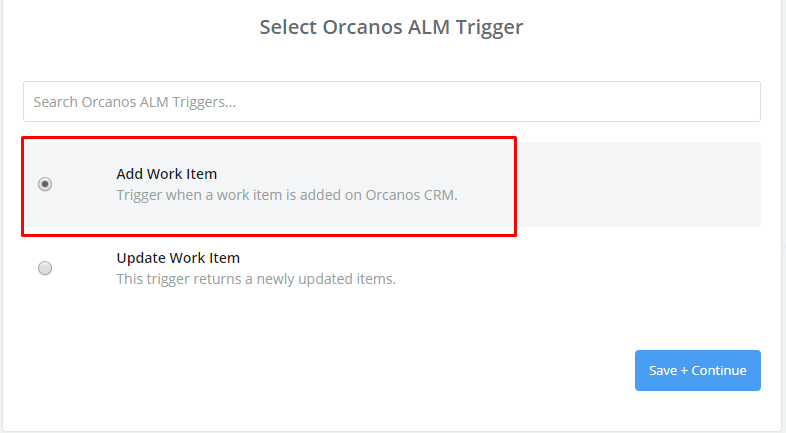
On the next screen select the “Add Work Item” option.
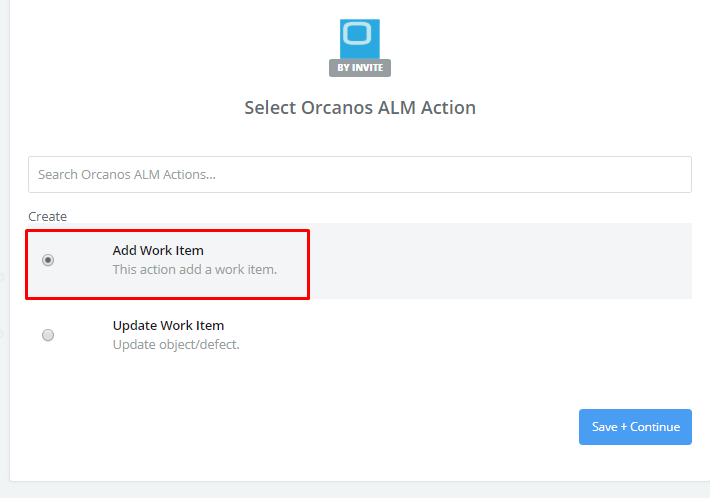
Click “Save + Continue”
On the next screen, you need to connect to Orcanos ALM Account.
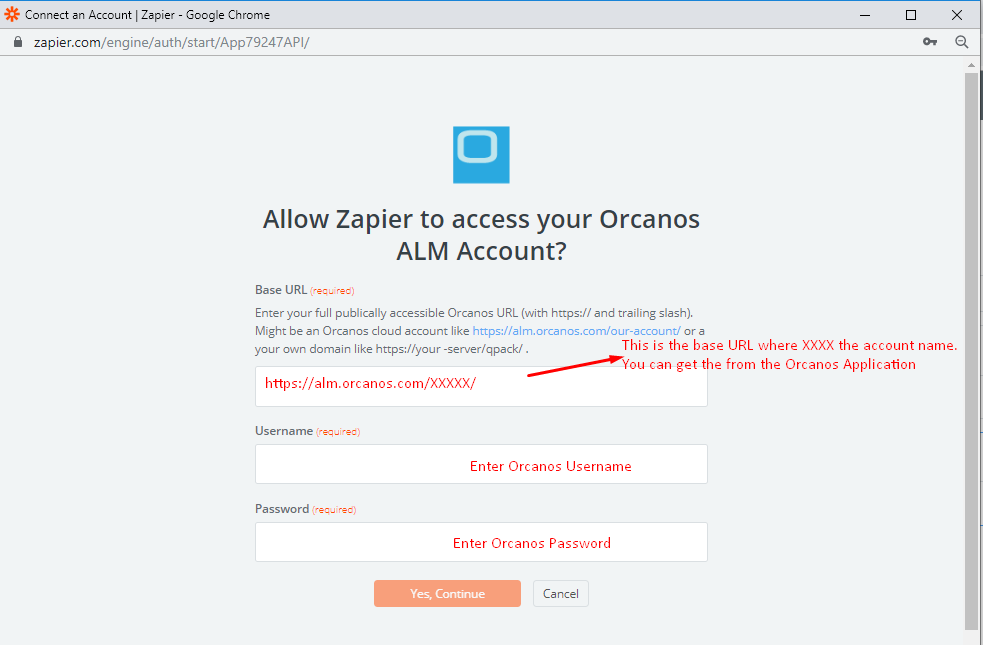
When clicking the “Yes, Continue” button, it will authenticate entered username and password in your Orcanos Account. If username and password are correct then it will return with the account information else it will give an error.
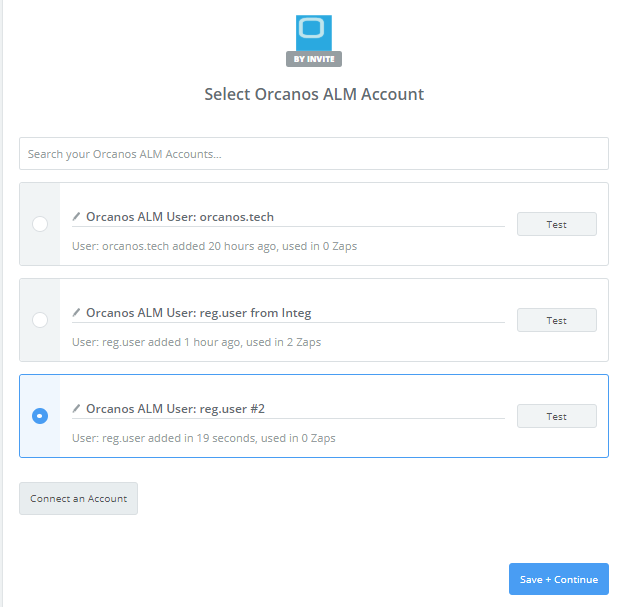
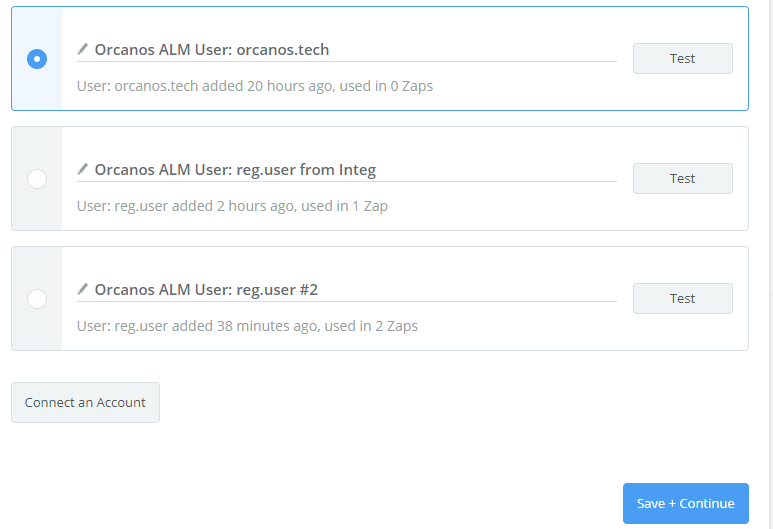
If you have multiple user accounts connected then you will need to select from the list and you can test the account from the list.
Click the “Save + Continue” button.
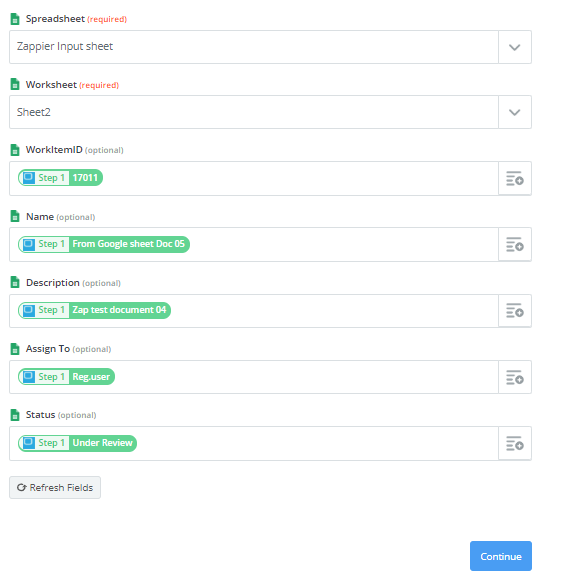
On the next screen, you need to map the Orcanos Project, Work item and Fields with Google Sheet fields.
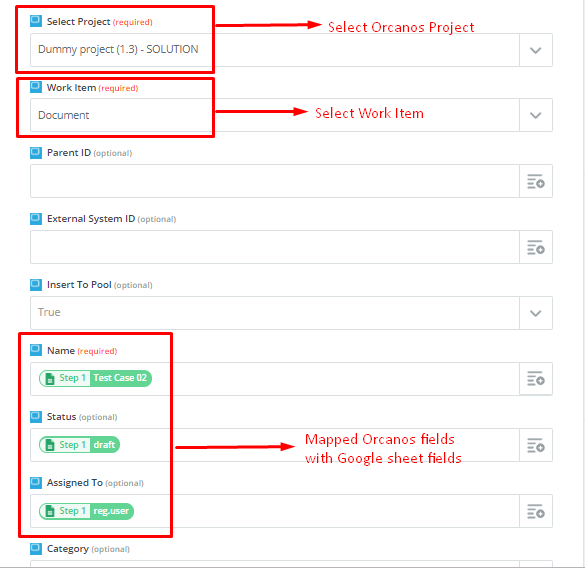
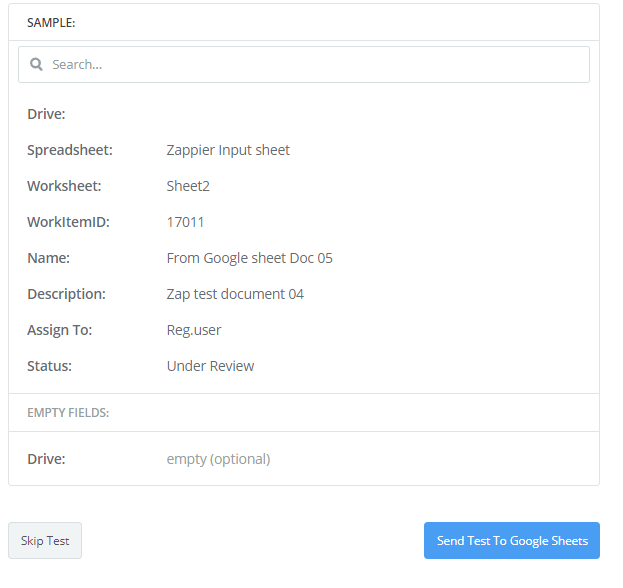
Once you map the fields, conditions and click the “Continue” button, your mapped data will be displayed and you can test the mapping from that screen.
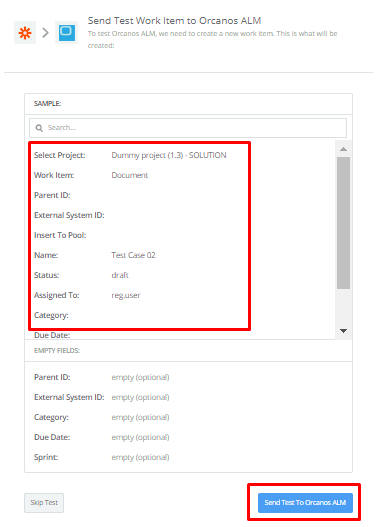
Once the record is inserted into Orcanos, you will get the Work Item ID in return.
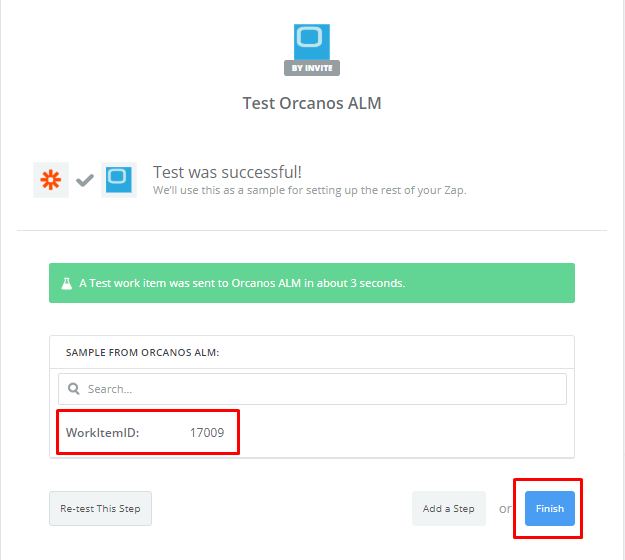
Click Finish to complete the Zap creation.
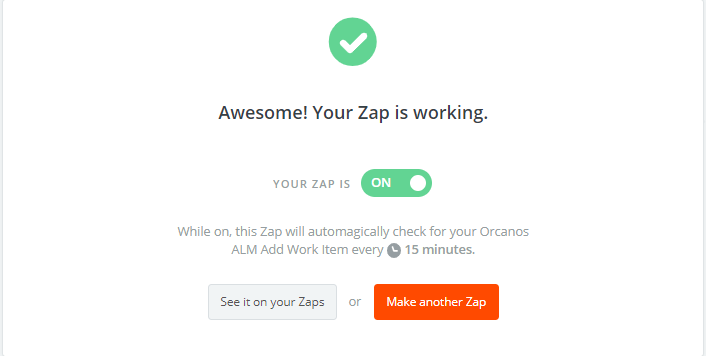
Once your Zap is created it will be ready to turn on
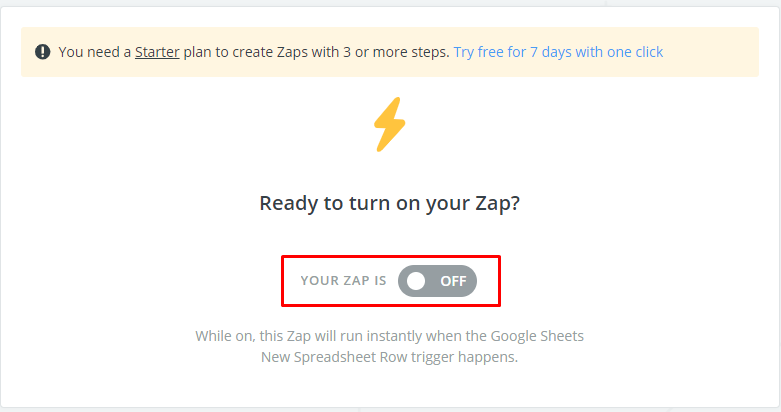
Turn on the Zap.
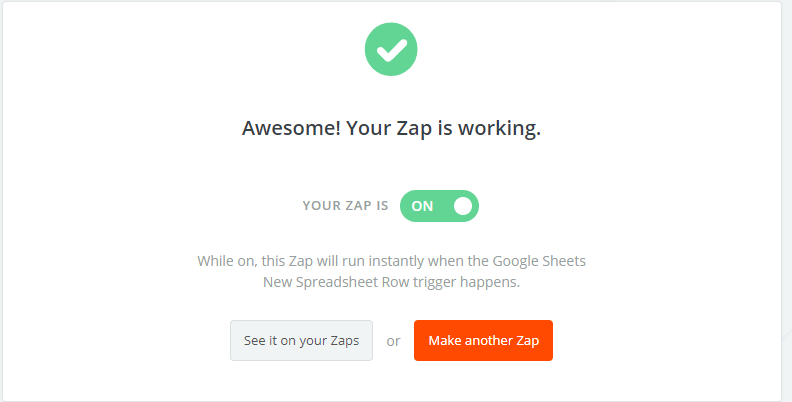
Once your Zap is turned on, it will run automatically every 15 mins and you can run it manually from Home > My Zaps > Zap list.

ORCANOS TO GOOGLE SHEET
In First Trigger step, select Orcanos ALM from the application list
On the next screen, select “Add Work Item”
On the next screen, select and test the connected Account or Connect the Account
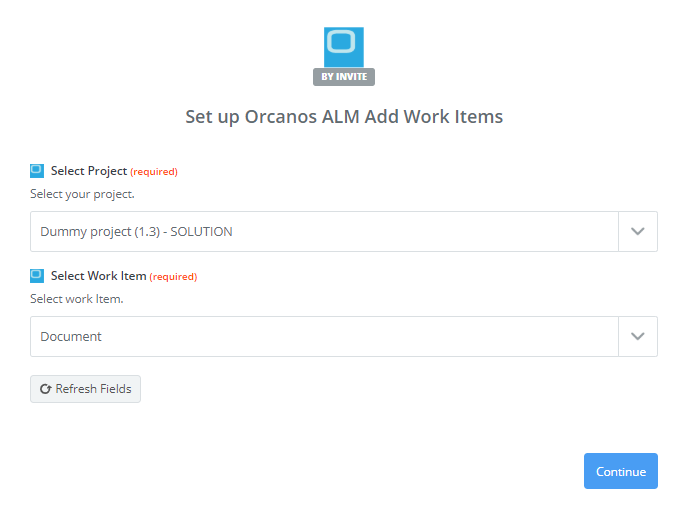
On the next screen, Select Project and Select Work Item
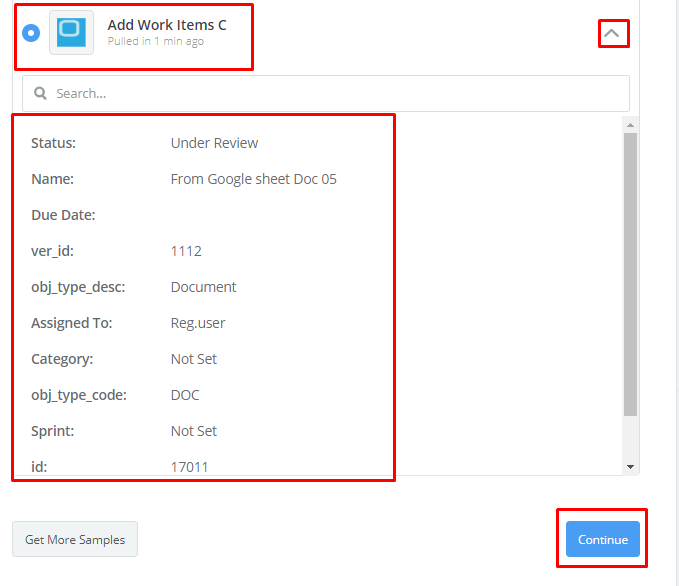
On the next screen, Zapier will try to fetch the sample data, if there are multiple samples, you need to select and view the sample data.
Once the first step (Trigger) is completed, you need to add the second step Action.
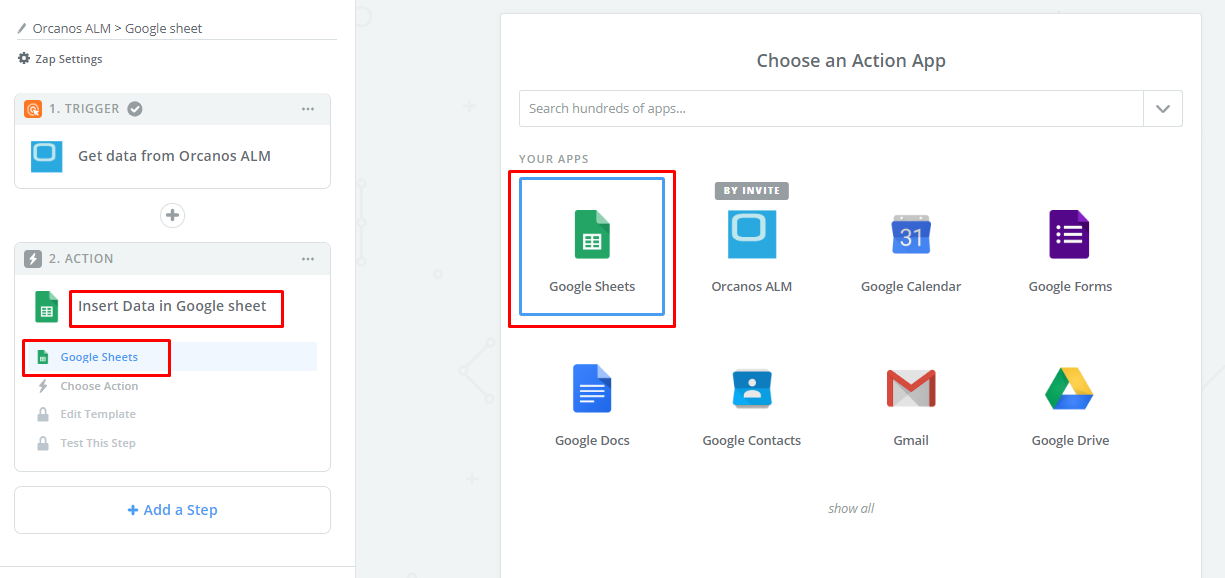
Select Google sheet from Application
On the next screen, select the “Create Spreadsheet Row” option and click “Save + Continue”

On the next screen, select from the mapped google sheet account or add a new account

Click the “Save + Continue” button
On the next screen, select Google Sheet, Worksheet and map the other fields
Click the Continue button. Now, Zapier will fetch the sample data
Click the “Send Test To Google Sheets” button.
Click Finish and turn on the Zap.
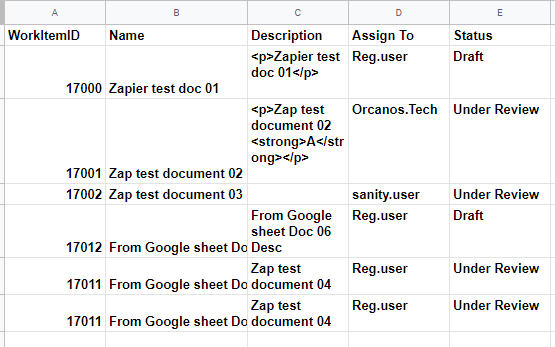
This is the sample of the data inserted into Google sheet from Orcanos.
RELATED LINKS: